Last October, I blogged about my CNC(ed) Music Factory. It was a good attempt, but I ended up 3D printing the walls, made some mistakes, and while I think it was going to stay together adequately, it wasn't as polished as I'd have liked.
Originally, I wanted wooden walls with inset engraved acrylic panels, all done with my CNC. Well, I just finished my 4th (I think) build and it's looking pretty nice!
One thing in the last build that wasn't great was that you were plugging directly into the Raspberry Pi in terms of power and USB. I wanted this all on a side panel, so I got some connectors and a USB port plate, all I could mount in the acrylic.
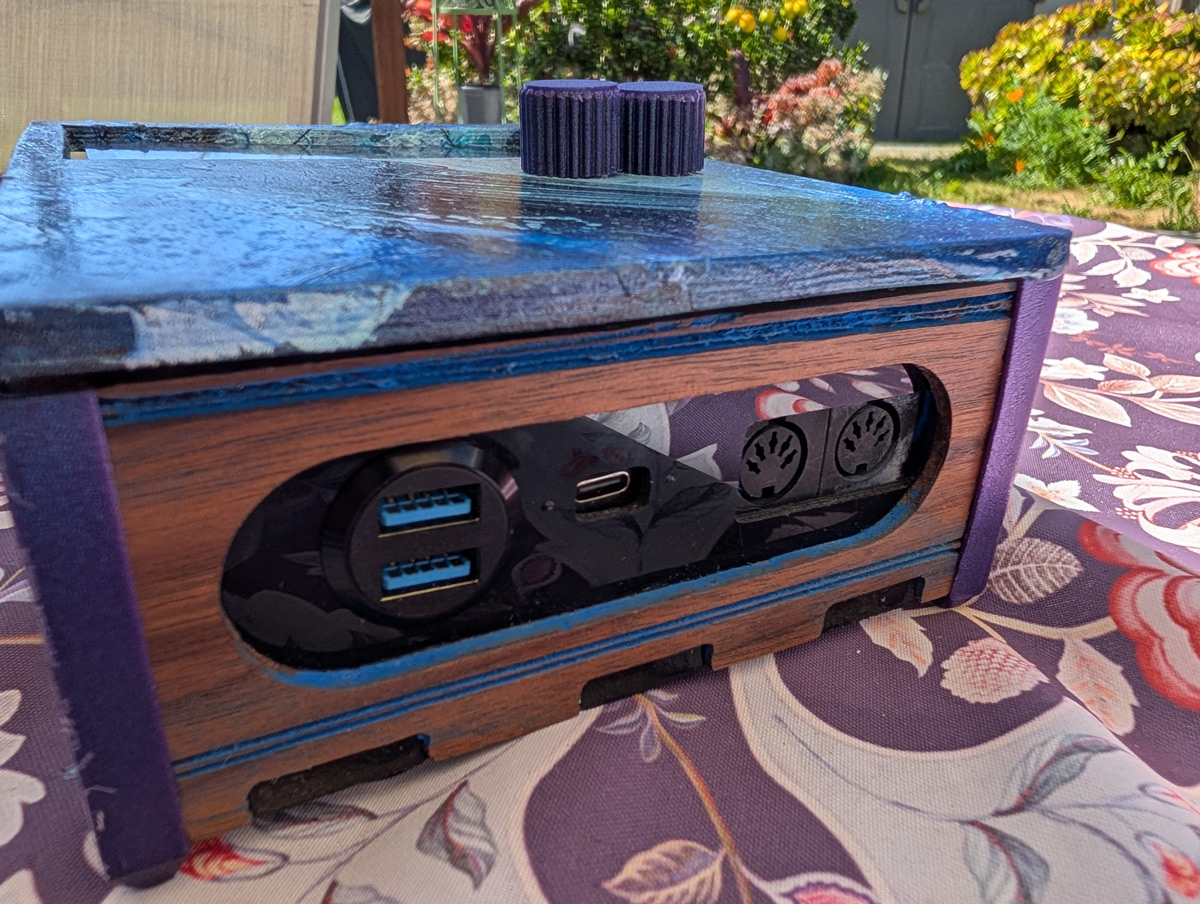 Front panel providing power and USB ports as well as MIDI in/out
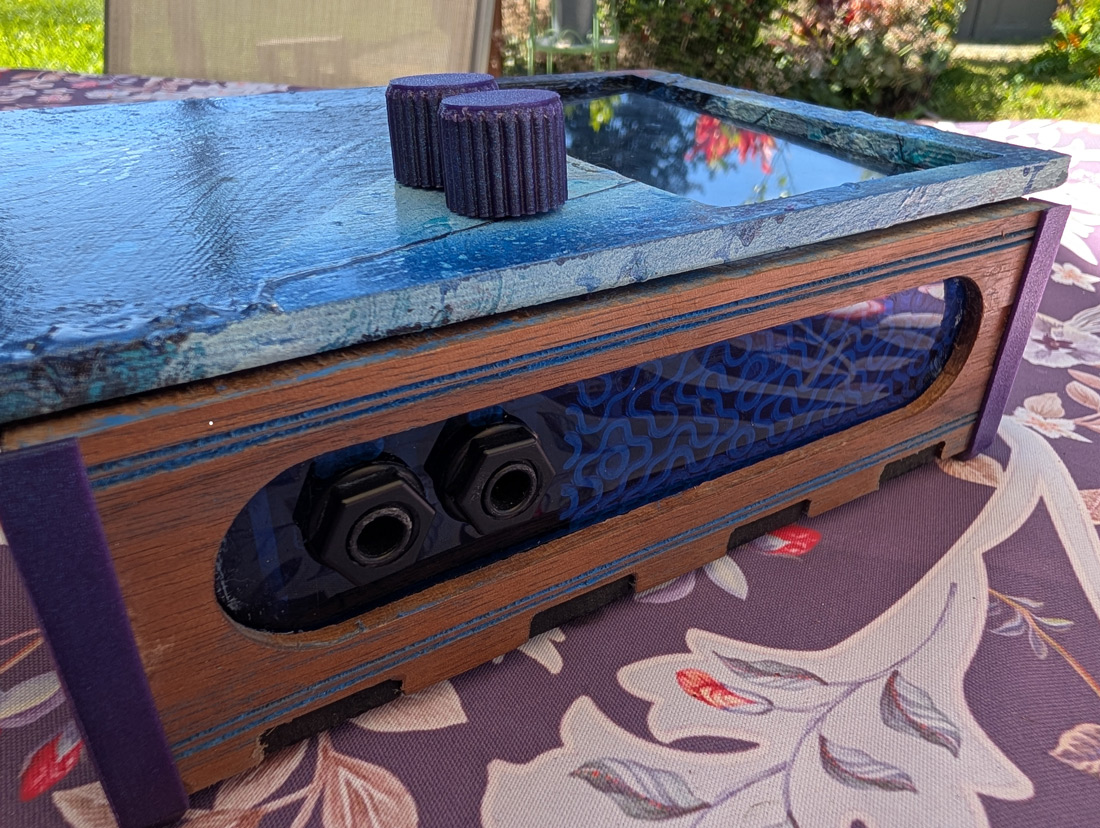
I'm really digging the blue racing strips I engraved on the walnut wood panel. Unlike the other 4 sides, this is a flat black, non-transparent acrylic panel.
I really liked having the semi-transparent acrylic on my other one (although it only worked out so well), and wanted to do this up right this time! Here's the side panel with 1/4" audio in and out. The engraving is on the back of the acrylic so it shows up as kind of layered effect.
 Front panel providing power and USB ports as well as MIDI in/out
This side of the device is also where my USB ports live on the Raspberry Pi. I took advantage of one port and bought a tiny USB LED light to shine through. I was really hoping it would be bright enough to leak light all around the device and light up other sides. No such luck, but where it is looks pretty sweet.
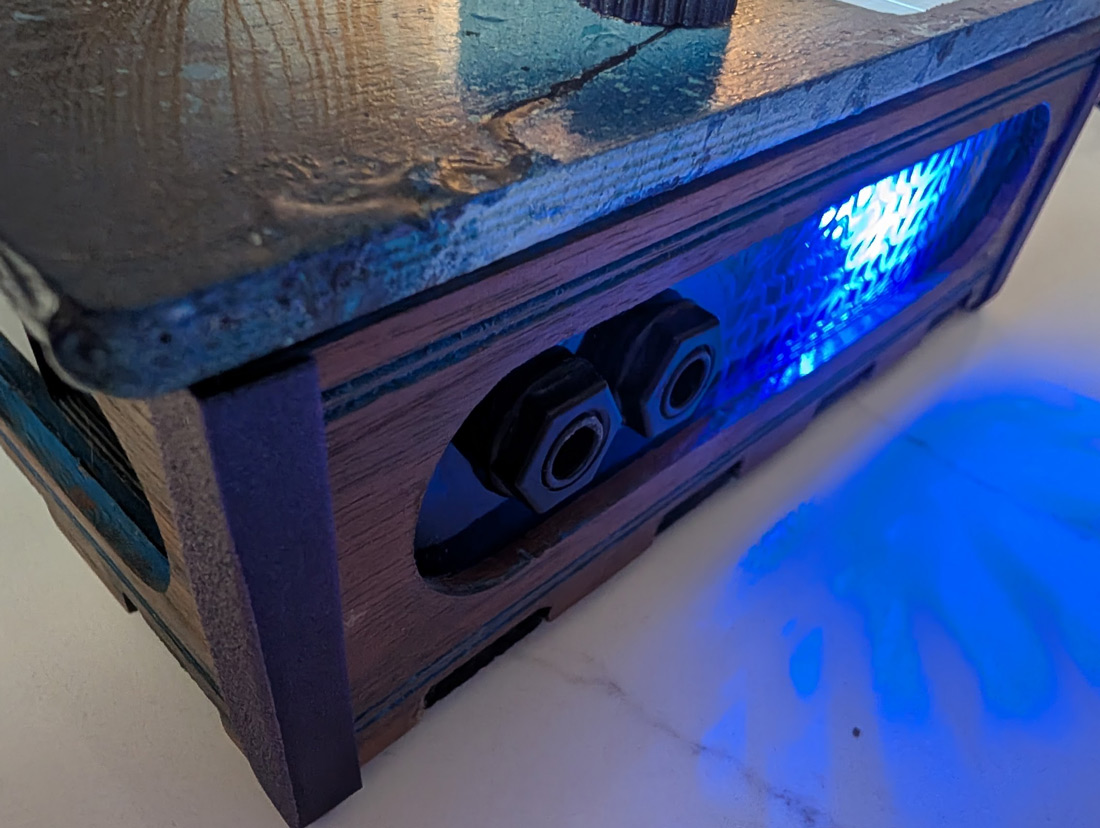 LED Light on side panel
The opposite side is simply a heat vent. I want as much airflow as possible in this little box, so guessed that adding this was important. Further down, I cut a little access panel as this is where the SD card lives. At this point I'll have to get it in and out with tweezers, but I think it'll do fine.
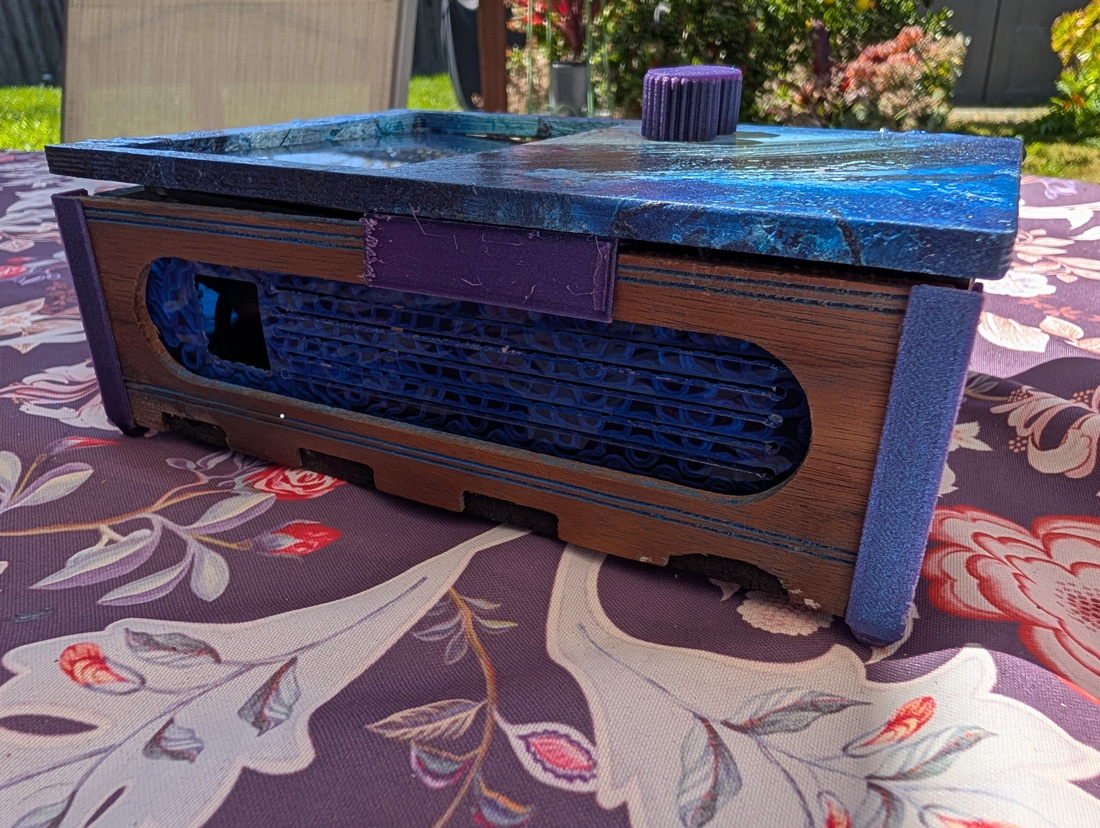 Vent side
There's some 3D printing shown here. The blue corners cover up the interlocking wall fingers which I like. But on the top, the friction fit sleeve to grip the walls and attach the cover is a bit bulk and ugly. As of now it's temporary, and I want to try a new solution to grip the cover onto the case. Unfortunately, I think I might need to make a new cover as things aren't lining up so well anymore.
Here's a top down view of the full cover. Thanks to my friend Carla for coming up with (and doing) the hydro dipping of the cover! I definitely want to keep this as long as I can, and I hope I can salvage this with some tweaks to make this a better fit in the future.
 Top Down
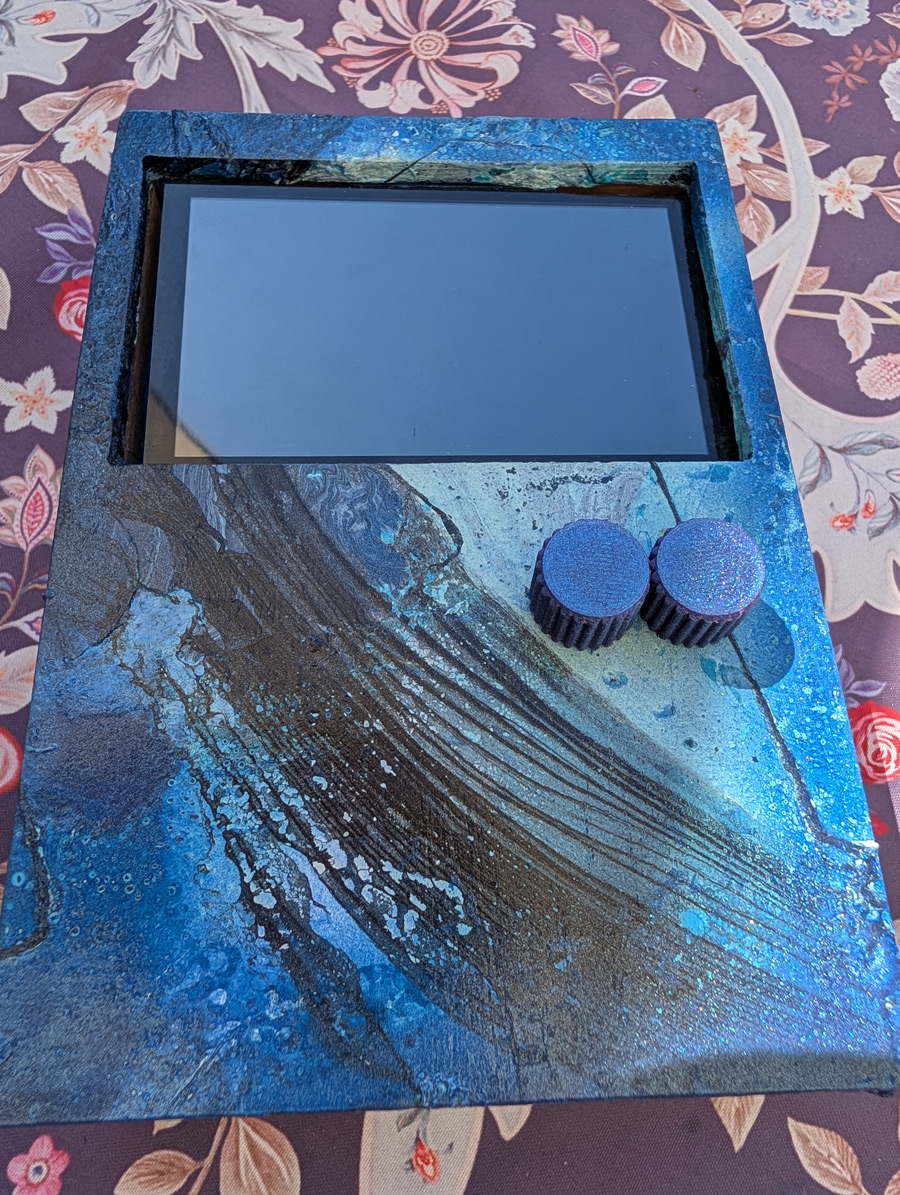
And of course, this wouldn't be anything if it didn't power on! Here's a closeup of the Zynthian screen with a guitar sound loaded and ready to go!
 Powered up with Zynthian screen shown
And lastly, I had to brand this thing. My old friend/bandmate Jay came up with the name CNC-ed Music Factory, and it's awesome. So I engraved it both in the acrylic back panel, as well as the bottom MDF board.
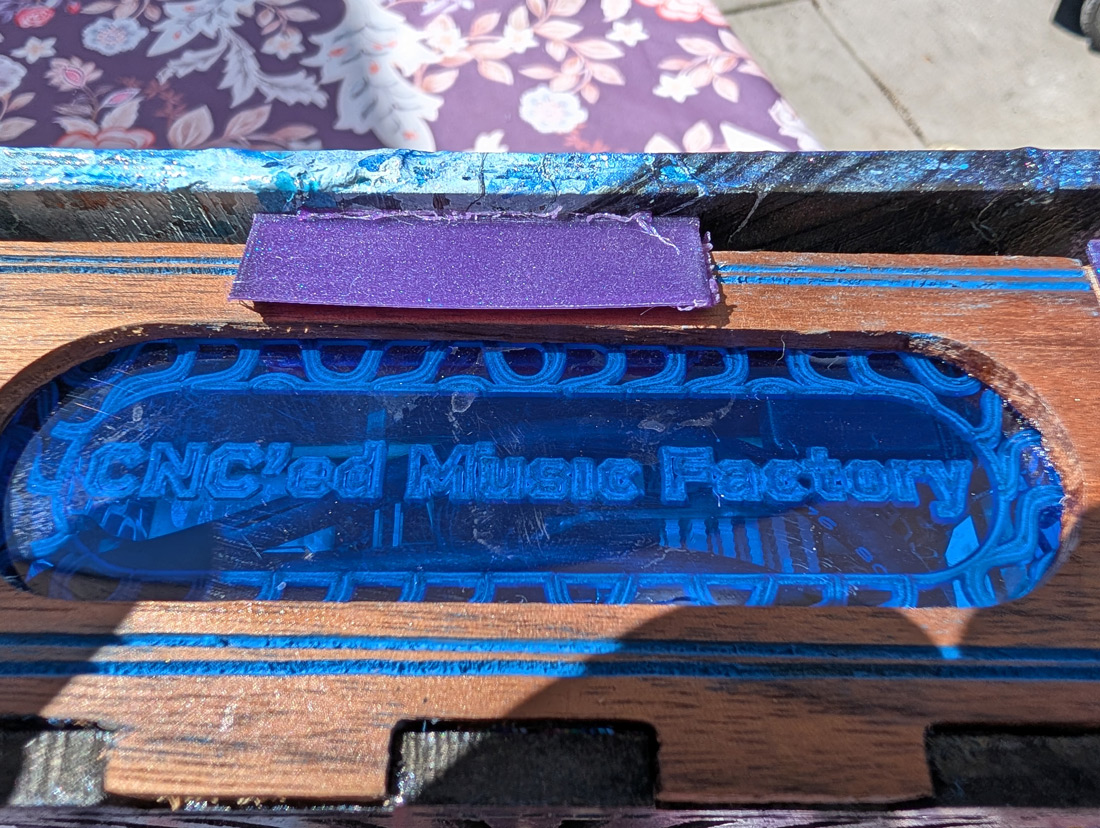 Acrylic engraved back panel
 MDF Bottom with engraving
All in all, I'm pretty happy. I think the only issue I want to fix soon is finding a better way to attach the top plate that's not so ugly and actually fits better. I also made a mistake with the acrylic insets. My plan was to make them flush with the outside of the box, but I accidentally made them flush with the inside, so there's around a 1/8" rim when looking at it. Honestly it'd be pretty cool if you couldn't see the bits of paint I accidentally got on said rim.
But for now, this 4th iteration will do! I also have just been putting some finishing touches on Sketchatone, which runs on this device using Zynthian, and it's sounding like a great setup especially as I strum!