I JUST finished a build of a custom case for my Raspberry Pi based music box. Currently, it's based on Zynthian.
Zynthian sells hardware kits, but offers DIY Raspberry Pi boot loaders so you can flash an SD card, plug it in to your Pi and GO!
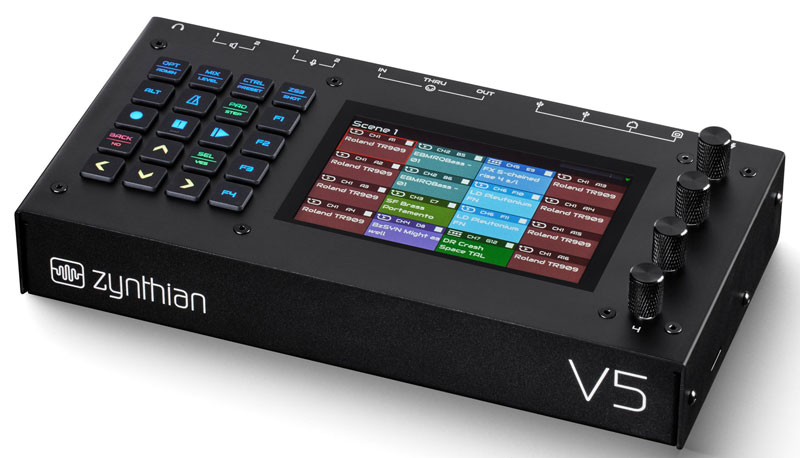 The Zynthian kit, after assembly, if you purchase it rather than custom build it like I did....
I say "currently" because I bought a PiSound a few years ago thinking I'd build out a kit with their PatchboxOS on it.
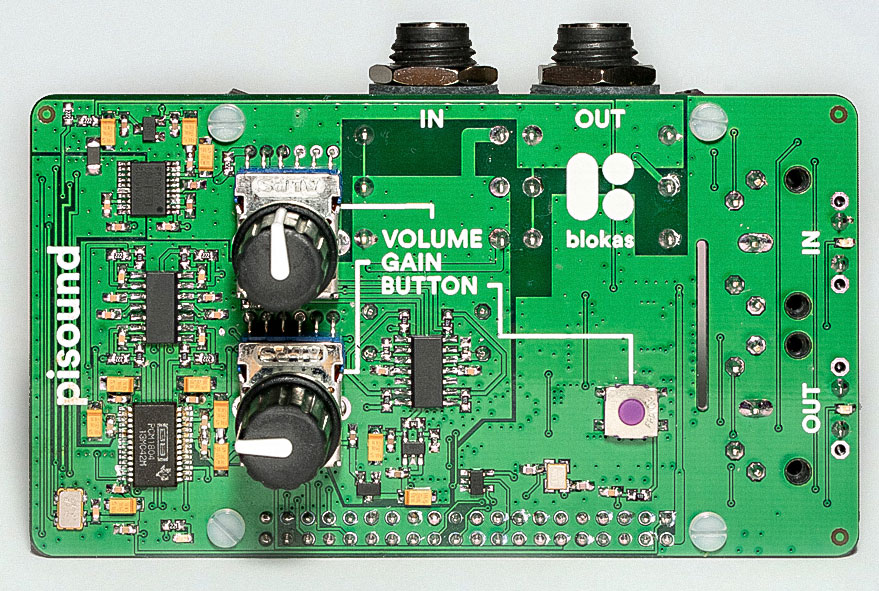 The PiSound is a Raspberry Pi hat that supplies digital audio conversion with 1/4" in and out, as well as MIDI in and out
Zynthian IS rad, and it seems like the complete package: it comes with a step sequencer, MIDI recorder, and just feels as close as we can get to a digital audio workstation in a small form factor on the Raspberry Pi.
Maybe I'll find something better than Zynthian someday? And it wouldn't matter because I could just boot that onto my Raspberry Pi instead. It won't be soon though, because the Zynthian community is so helpful and vested to get you set up. I've also written a couple of half-assed device drivers in Python for my Akai drum pad and keyboard.
Point is... Zynthian is open, friendly, and just plain exciting. But I'm used to being burnt by tech, so I'm playing it safe. If this doesn't work out, I'll just load up something else on my Raspberry Pi.
Am I just being nerdy, or am I looking to rock? #
As much as I love learning and playing with these types of projects, I do actually have a goal. Over the past few years, I've come back to playing music. I'm getting better as a singer, and incorporating keys into it better too.
It turns out, though, that I really appreciate a fuller sound. I need more instruments. And some bass. And someone to keep my damn time for me! This is normally when I'd just join a band, but I'm all over the place right now. I told my friend about my aspirations into doing synthpop glam rock covers while ALSO agreeing with my music teacher that "yes, I should really get up to speed in the blues".
So yes...for now, I need to get my shit together and figure out what I actually want to play. The Raspberry Pi Loaded with Zynthian is majorly going to help me play, experiment, and hopefully open-mic.
But hey Ben, how can we obsess over this even more? #
I'm really against the idea of going on stage with a laptop. It's so not punk rock. But something that has the same form factor of a guitar pedal, but as powerful as a computer from 10 years ago, and I built it - so it's janky as hell....
Well, maybe that's not punk rock either, but it's SOMETHING NEAT.
Like I said, I'm not going to be sold on Zynthian until I put it through its paces. I so appreciate Zynthian being open-source and allowing me to flash an entire OS image to my PI!
That said, it turned out to be way more work (and actually more expensive in the end)...because if I'm gonna do this, it's gotta be punk rock leaning (or at least just SOMETHING NEAT).
And that leads me to when I bought my first CNC machine.
Making the Case #
Prior to a year ago around this time, I had access to a laser cutter. It was pretty neat what you could do with cutting and engraving wood and acrylic as I wrote about previously.
I even made a few Rasperry Pi + PiSound cases before. The problem is that I wanted to add a screen this time and there was no place for it on the case designs I got from them.
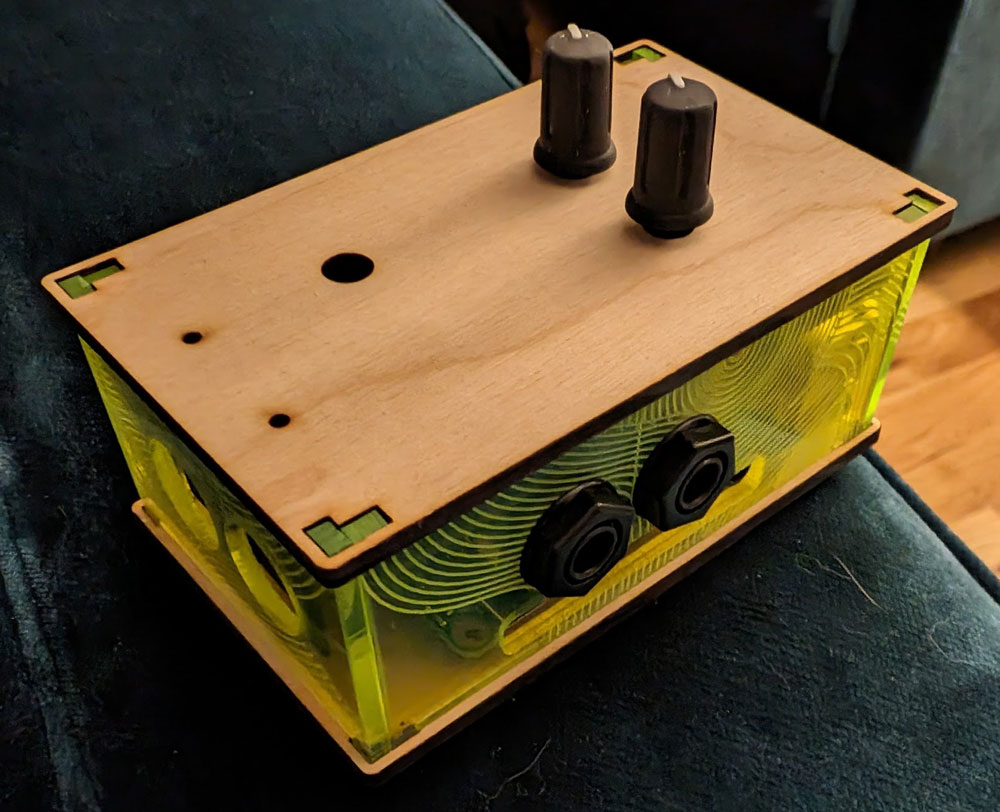 The first (screenless) case I built with help from a laser cutter
After I started playing around with Zynthian, I knew it was something I wanted to actually use vs just playing around with.
Unfortunately at this point, I had no laser cutter access anymore! Despite our town of Hayward having a library makerspace with one, I knew that it was going to make lots of mistakes, so not having constant access and having to schedule time would likely kill all momentum on this.
So, I bought a CNC machine off Amazon. The Sainsmart 4040 Pro is probably on the edge of cheap/beginner entry vs a solid machine. I paid a bit extra for the pro because I read about not having belt driven axes (they tend to wobble I guess?).
All in all, it's pretty fun to use, albeit a steep learning curve (true of any CNC)! I think if I doubled what I spent I'd probably end up with loads more speed and power. I don't NECESSARILY like playing a game of chicken with my cuts (either they take an hour or two or I break my bit), but for one-off projects like this, it's totally fine!
Uh oh. I've set some things in motion. Cut to my weapon forging montage.
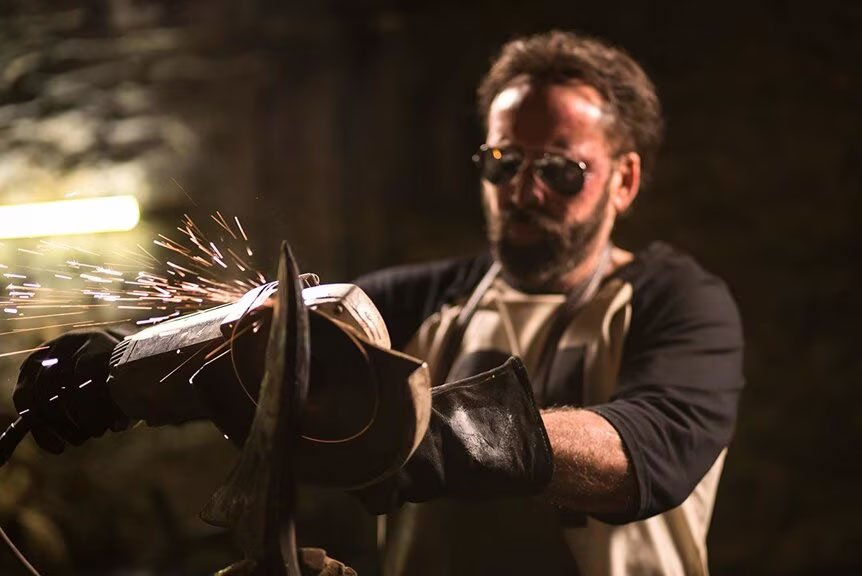 Nic Cage forging "The Beast" in Mandy
The CNC(ed) Music Factory #
Back when I was using the laser cutter/engraver, we quickly settled on using LightBurn. Though its a bit expensive (between $100 and $200), it's likely the best and most complete tool available.
The world of CNC has different options. Like laser cutting, the free software tools are pretty finicky and hard to use. I started out with Universal G-Code Sender. Using this meant of mix of me learning some actual GCode commands and dealing with a potentially buggy and somewhat difficult to use design view. Despite the learning curve, it also forced me to learn a fair bit of how CNC machines ACTUALLY work.
Other software, like Easel are subscription based. Though Easel proved pretty nice throughout it's trial, I really can't see me paying a monthly subscription when I only plan on using my CNC sparingly and in spurts.
Fortunately, Lightburn has a pre-release candidate for their CNC software called Millmage. I'm still in my trial period, but I definitely plan to buy the (non-subscription based) license when it's released.
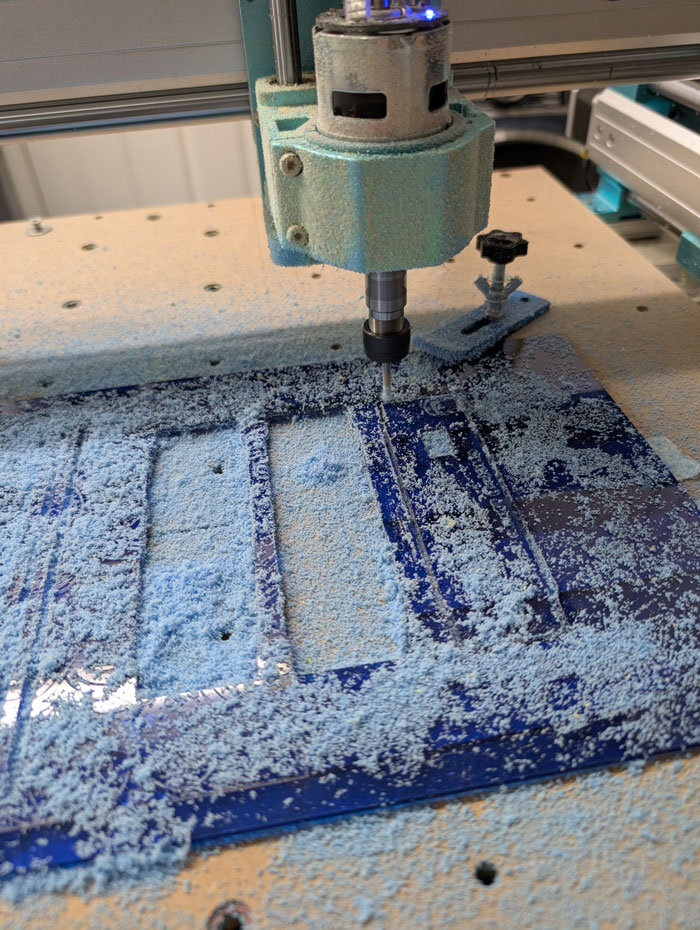
 An early cutting attempt...
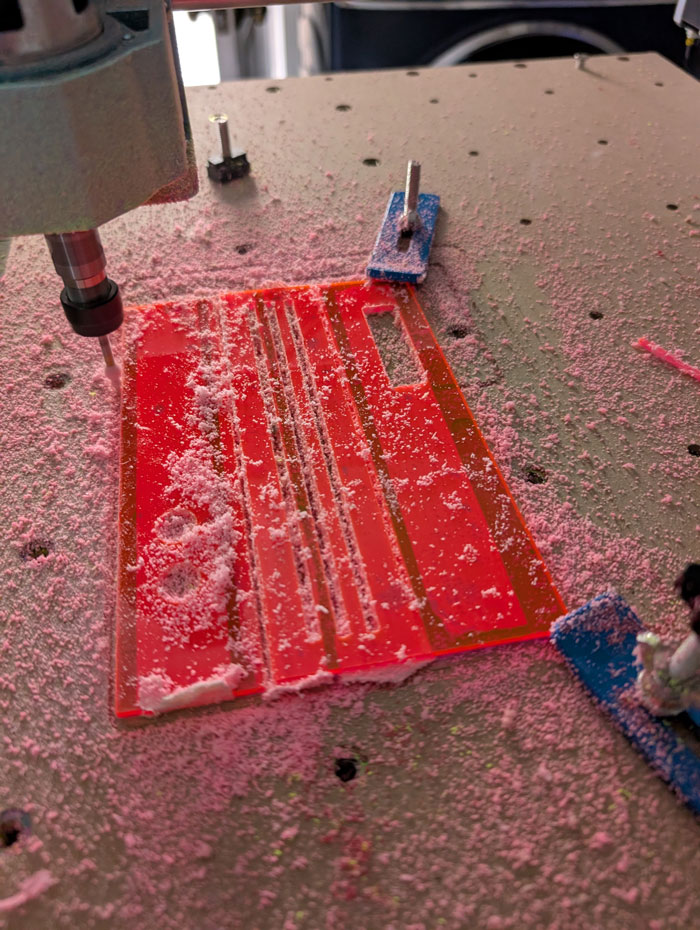 Another early cutting attempt, yes...I'm bad at measuring stuff
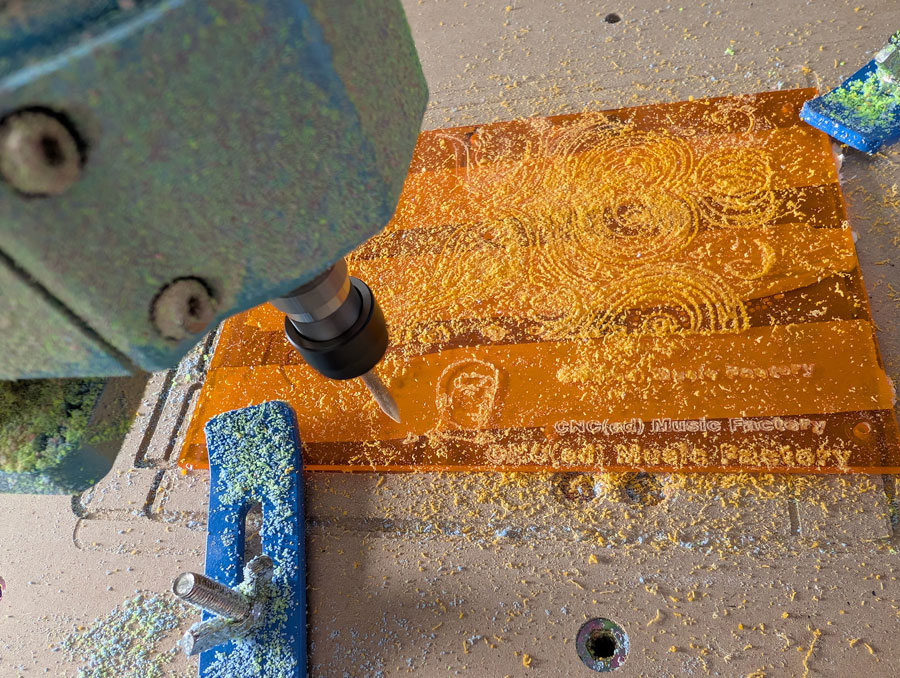
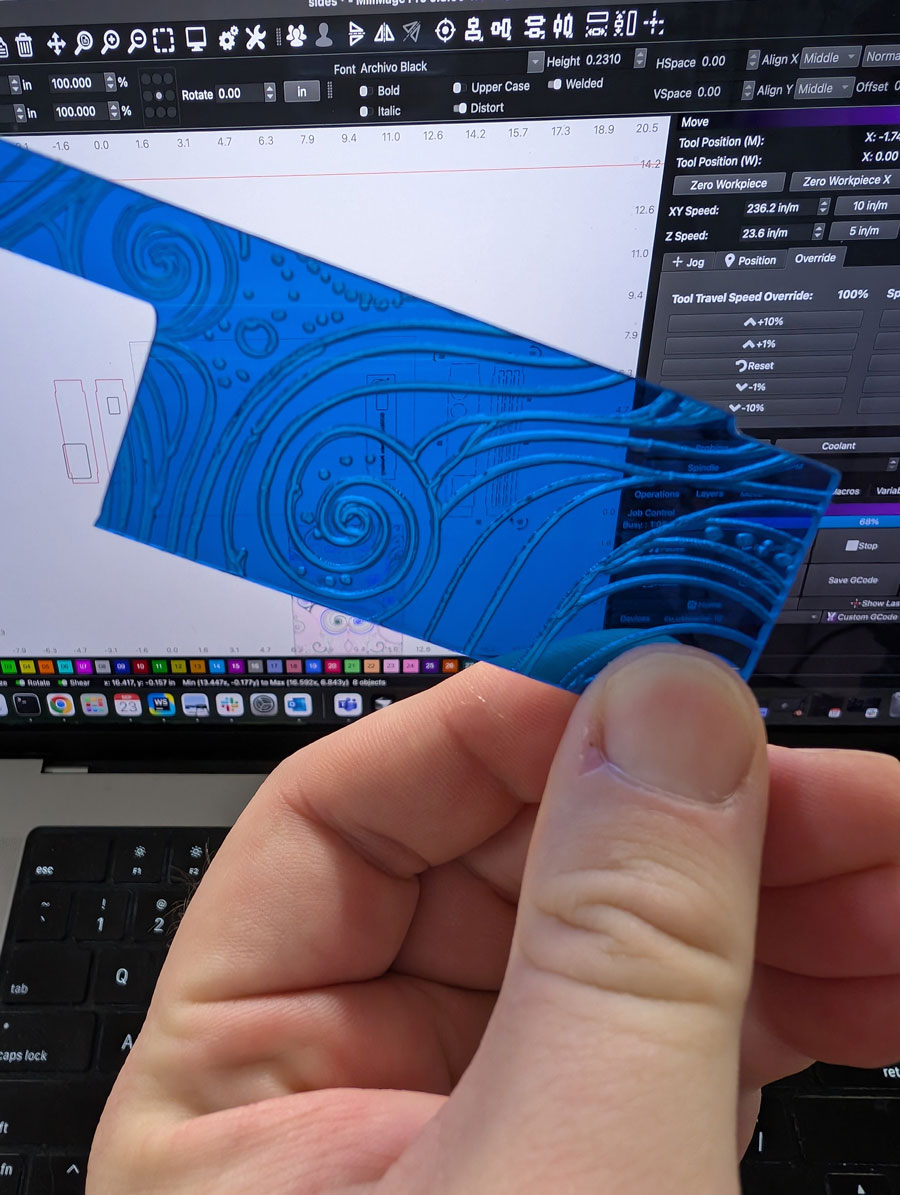
One of the things I really dug about semi-transparent acrylic was that I can engrave on the back and it looks pretty dang rad.
 Engraved piece with an AI generated swirly pattern that I made in Adobe Illustrator
Once I blew through 10's of dollars worth of acrylic sheets and finally had my measurements right, I was able to assemble a test case.
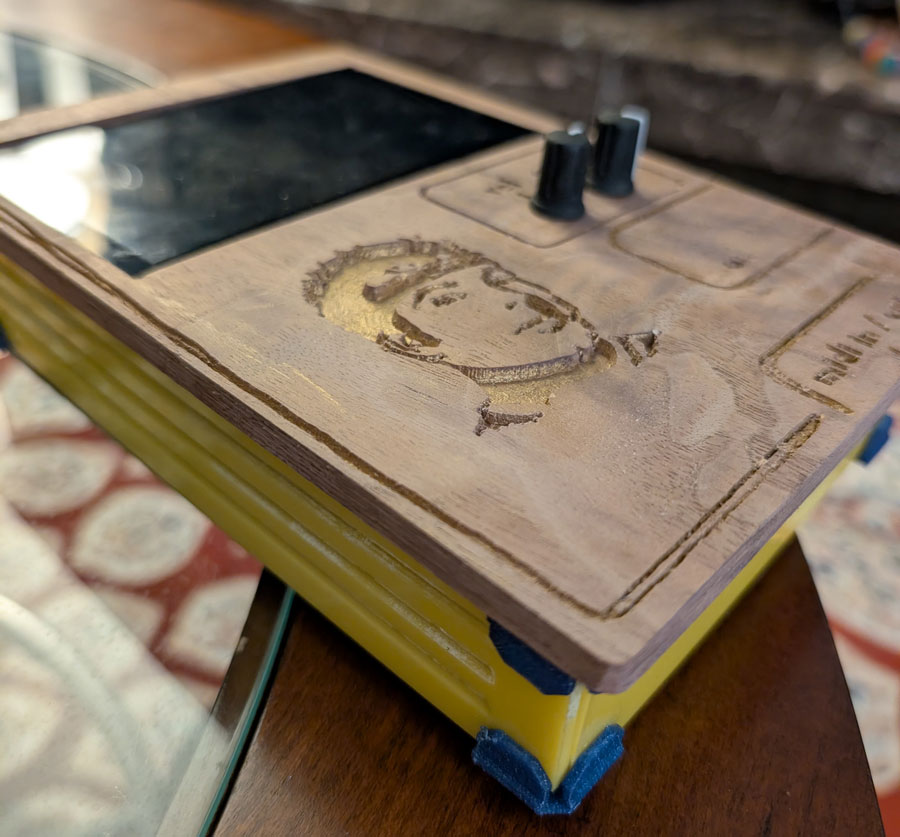 The first fully assembled pass of the CNC(ed) Music Factory
You'll notice the rather rough looking wood top plate here. First of all, my choice of wood was probably a bit too soft, so I ended up switching to walnut which worked quite nicely. I also don't have that great of a handle on engraving yet - especially if I want it deeper, like here. The carving bit gets thicker toward the top, so it's not so great at finer details as it plunges more. Plus that gold paint to fill things in wasn't the best either.
Like I said, big learning curve (that I'm still involved with), but once I knew I had the dimensions right, the last cut was exciting and suspenseful!
 Final cutting pass
 Final cutting pass (close-up)
In the end, I took my Raspberry Pi + PiSound + a ribbon cable to connect the two that I had mounted onto acrylic with screws and spacers...
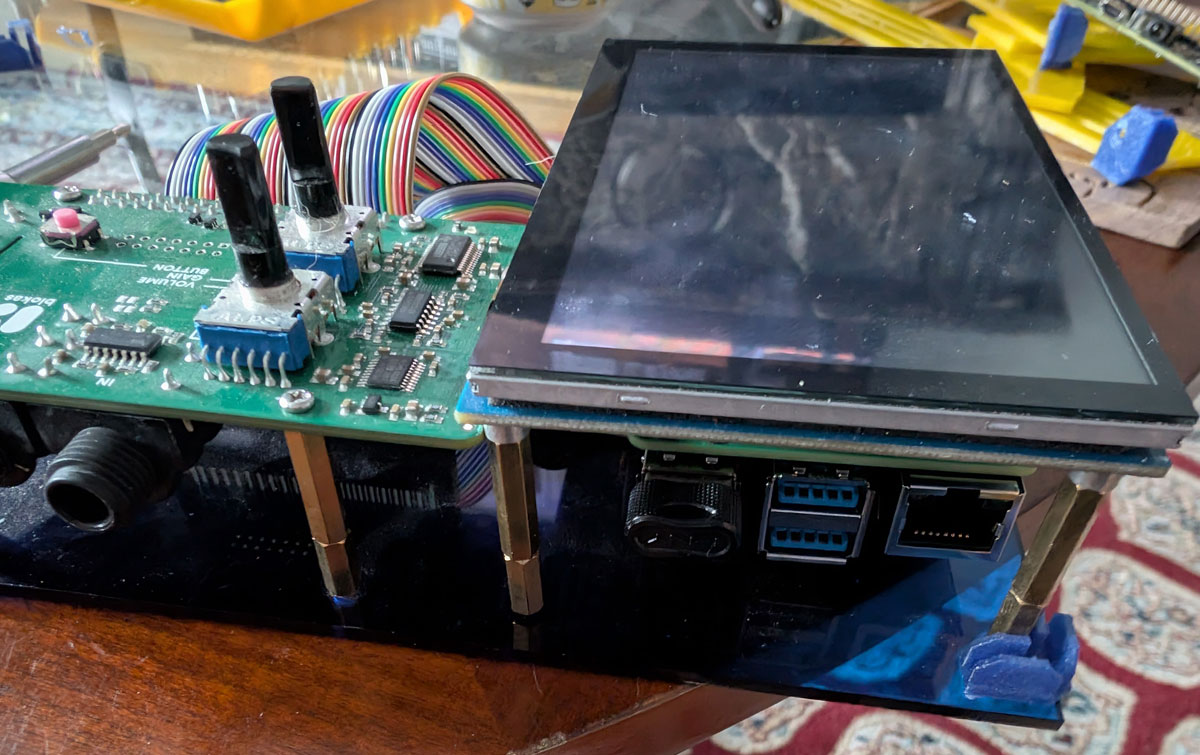 The naked CNC(ed) Music Factory before the case is mounted
...and added a totally badass looking case. I had some help with the front panel. My friend Carla setup a makeshift hydro-dipping station in her driveway. The spray paint pattern she laid down makes this really come together looking like a proper guitar pedal, I think!
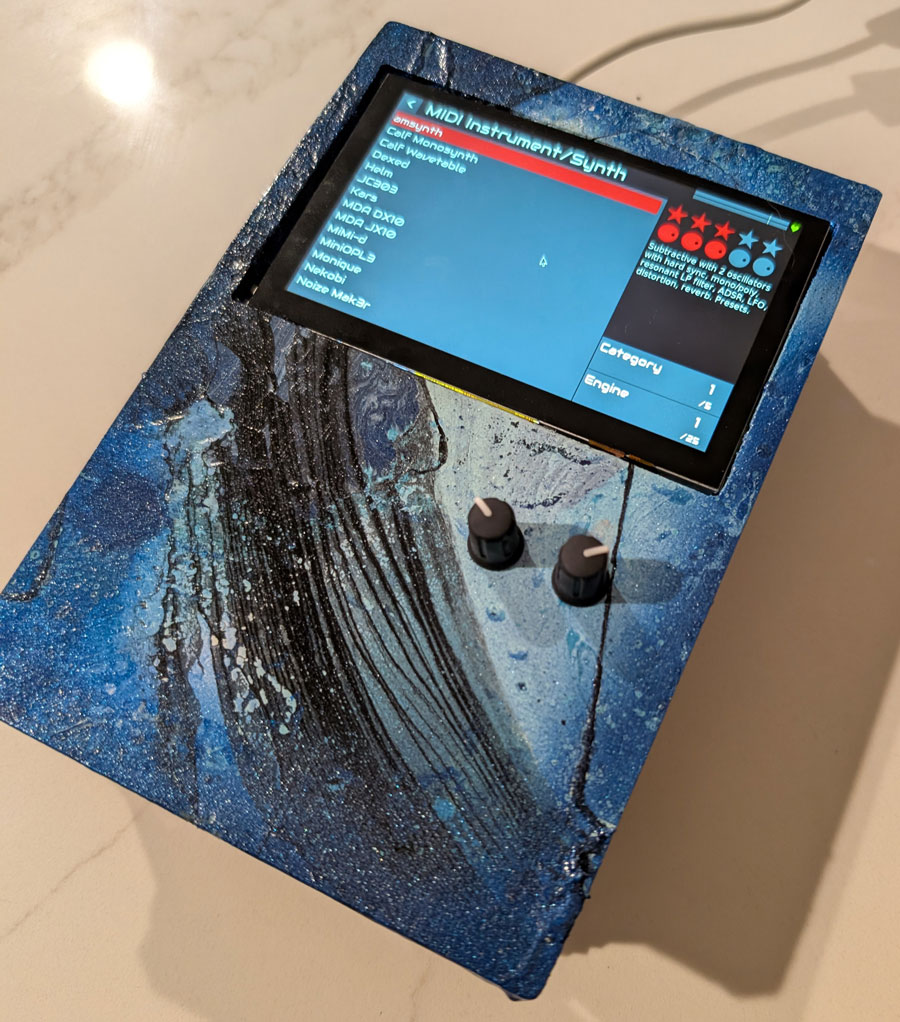 The finished product (top-view)
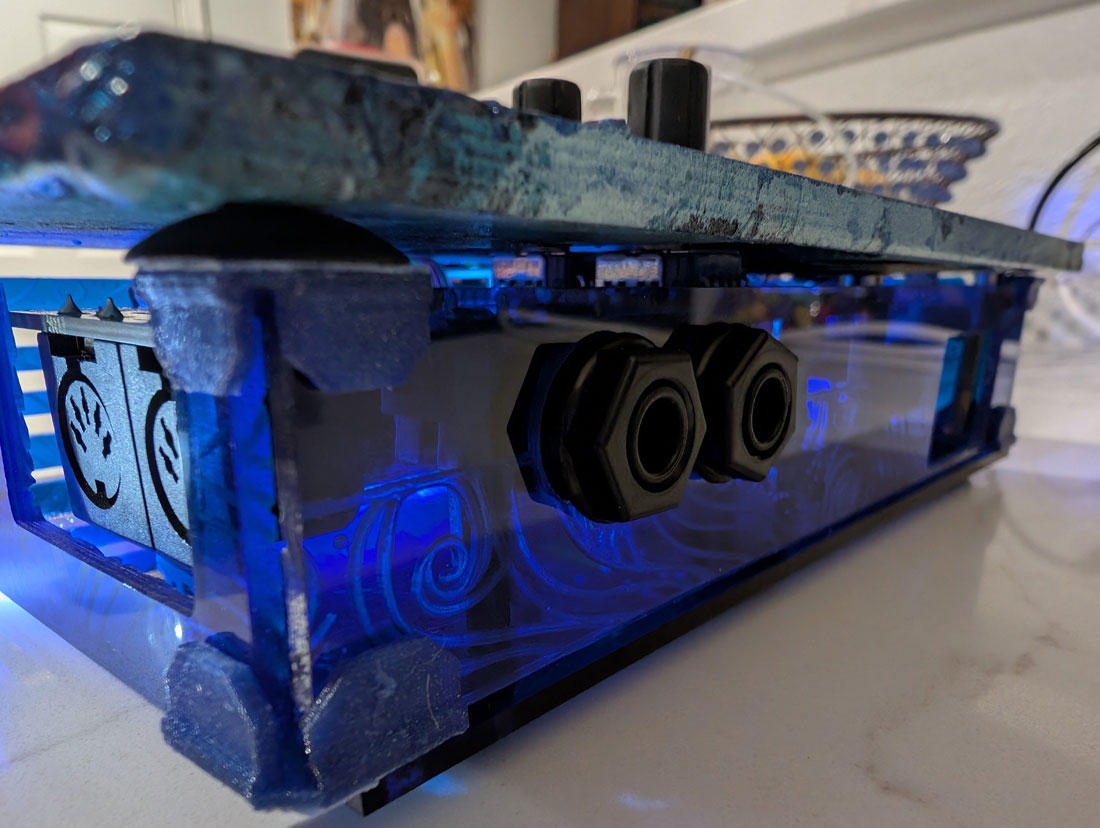 The finished product (side-view)
Now, of course I had to give this a name. Unfortunately, just as I ran out of blue acrylic, I noticed I engraved upside down. Oops. Something to fix on my next iteration.
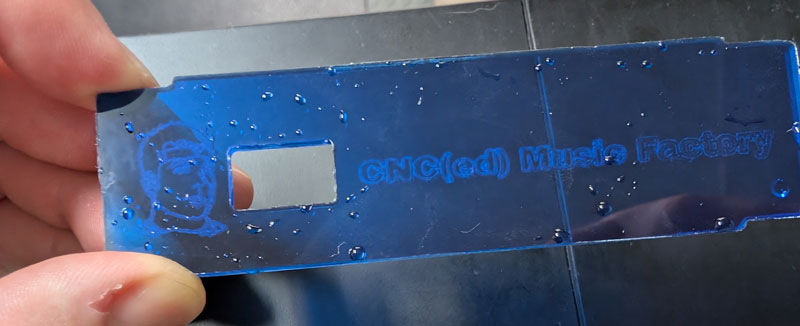 A mistakenly upside down back-panel
And with that, it's done!
But is it done, really? #
Nah, it's probably not REALLY done. I'll probably make improvements. If I have to cut that back panel again, I'll be sure to engrave right side up.
I'm also a bit shocked at how much it's not falling apart right now - and in fact really stable! The sides and top are all separate pieces held together by tiny 3D printed corner pieces. I initially made them to hold the 1/8" thickness of the acrylic, but they slid out fairly easily. I reprinted the ones on top a little narrower so you'd really have to jam them in and they hold tight.
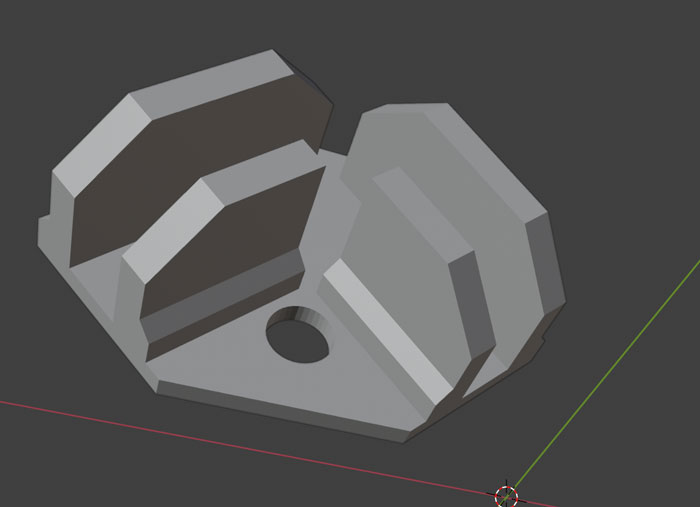 3D printed corner joiner shown in Blender
I also added some stick-on rubber feet to the bottom to cover my screws and elevate it a little. Plus I snuck in two of those feet to lift the bottom of the cover a bit so it didn't jiggle.
So yeah, it's good now. But things could fall apart, break, who knows. When it does, I'll patch it, but in the meantime I hope to make some music!
 Nic Cage admiring his newly forged weapon